Getting started with ExplainThisDoc: set up your archive
Your paperwork should be easier to find, understand and act on. With ExplainThisDoc, you start with one document and build your own archive. On your first launch, you can scan straight away or take four short steps to set up the app for yourself.
1. Start with your first document
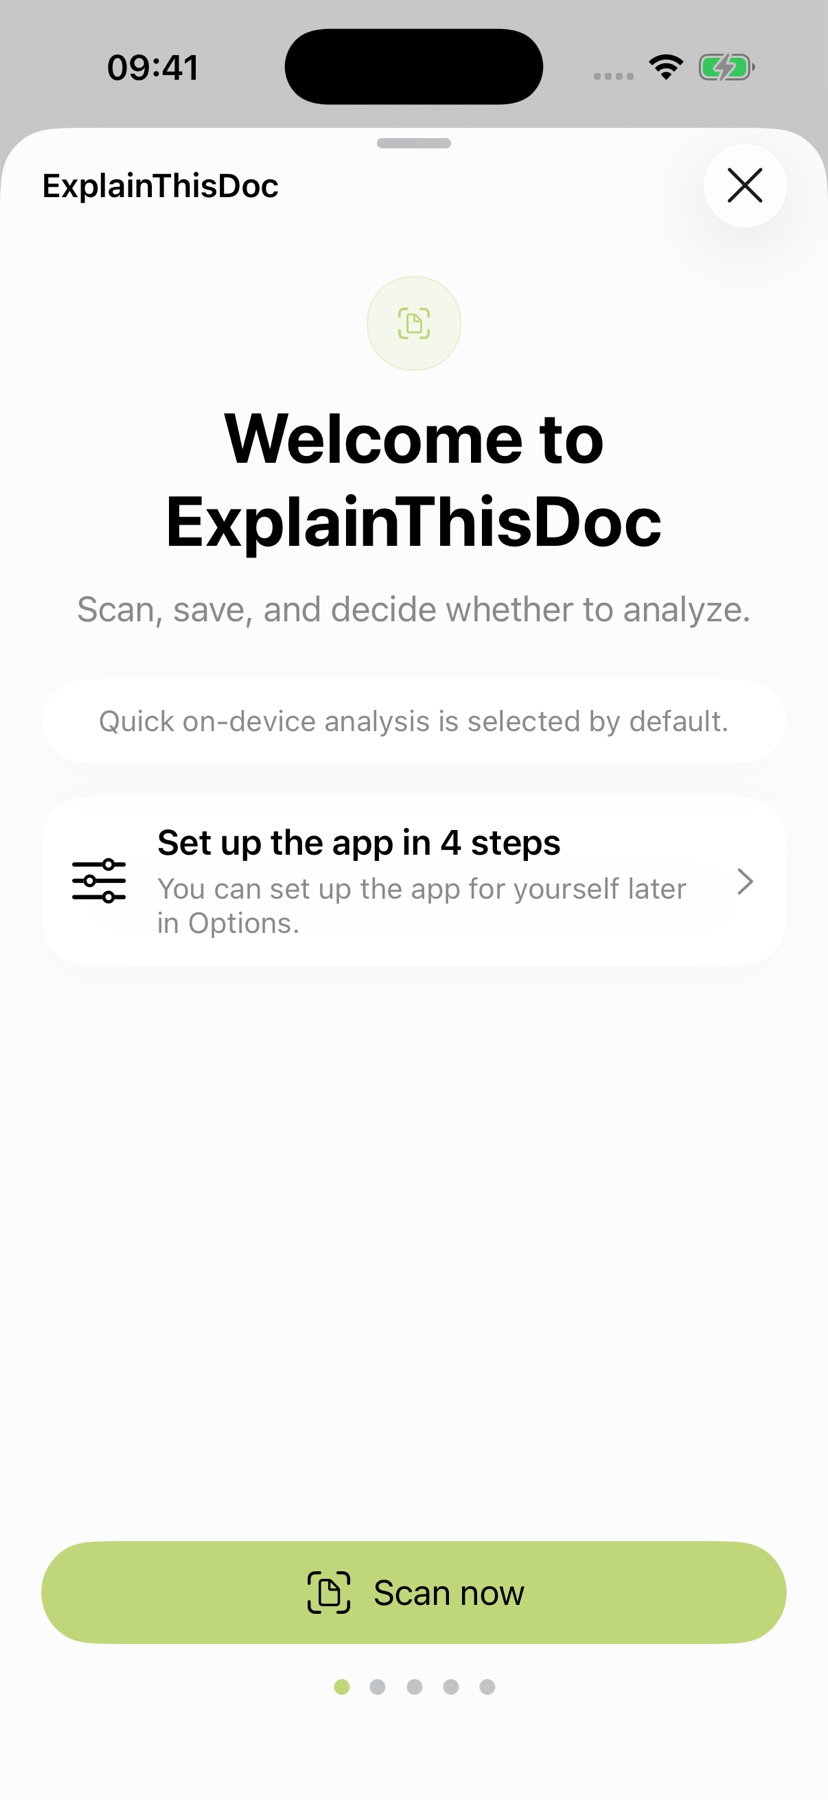
On the welcome page, “Scan now” takes you straight to the camera. Bring the letter from your desk into your archive. To choose your settings first, open “Set up the app in 4 steps”.
After the welcome page, choose your help and protection in four steps: Pro analysis, securing credits with your Apple Account, Cloud Sync and App Lock. You can adjust all these choices later in Settings. On a supported iPhone, quick local analysis is already selected as your starting point.
2. Choose the help you want with reading
For a quick overview, local Light analysis summarizes the text and finds key facts. It uses Apple Intelligence on a supported iPhone and in a supported language. Your document text is processed on your device for this analysis.
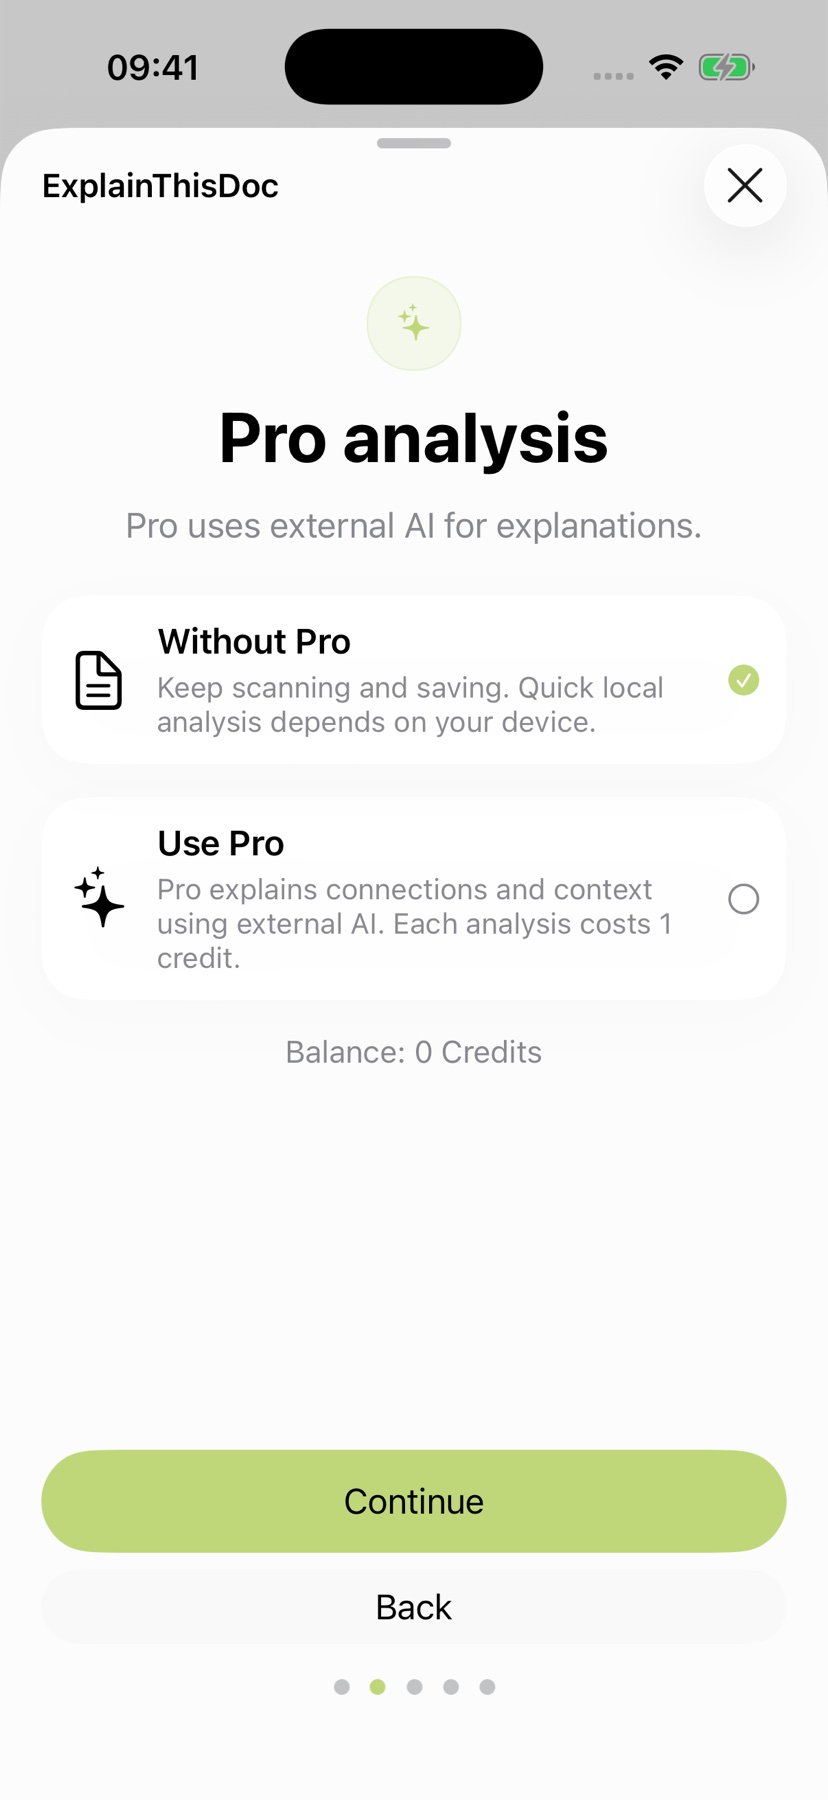
Choose “Use Pro” for fuller explanations, context and useful next steps. You can choose between OpenAI, Mistral AI and Qwen. Pro uses external AI; each analysis costs one credit. Packages and current prices are available in the app.
With “Without Pro”, keep collecting and editing documents in your archive and use local analysis on compatible devices. Choose the help that fits your day.
3. Keep access to your credits after reinstalling
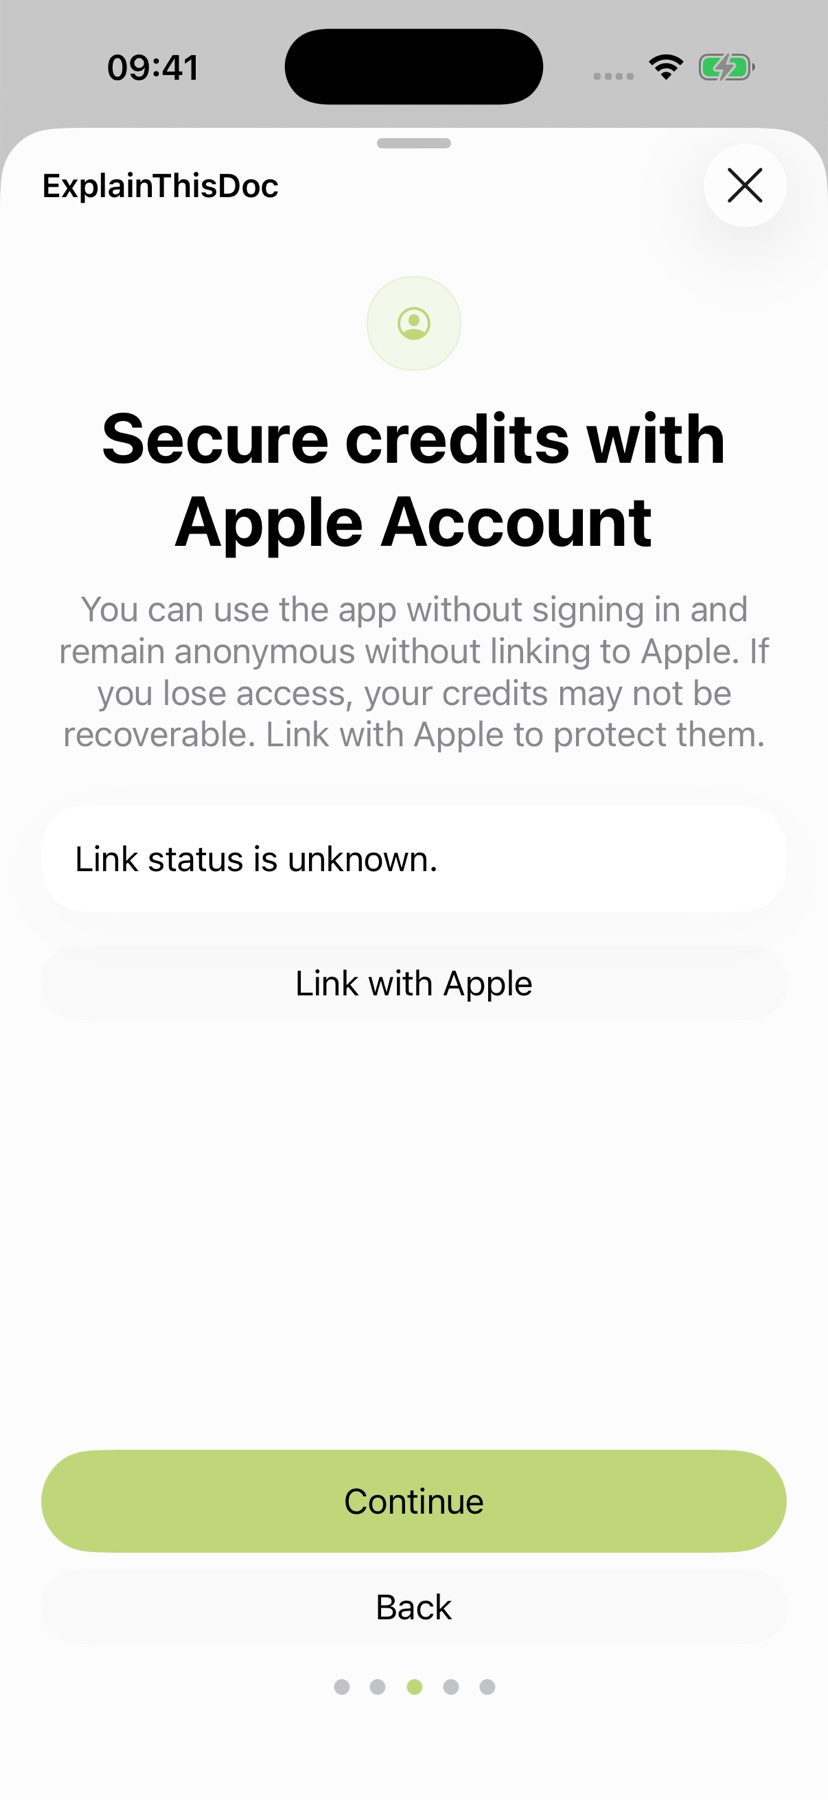
Use “Link with Apple” to connect your ExplainThisDoc account to your Apple Account. You can then restore the same account and credit balance after reinstalling the app.
Linking with Apple secures access to your account and credits. On the next page, choose how you want to use your archive: locally on your device or with iCloud on your other devices.
4. Keep your archive at hand on iPhone and iPad
Scan on your iPhone while you are out and keep reading on your iPad at home: iCloud Sync keeps your own archive at hand across your devices. Original files, saved explanations and notes stay together and update automatically. Pick up right where you left off.
On the “Turn on Cloud Sync” setup page, choose “Sync with iCloud” and confirm “Assign library”. The app connects your entire library to the iCloud account you are signed in to. Existing documents and new scans, changes and deletions then sync automatically.
Use the same Apple Account for iCloud on your iPhone and iPad. Sync runs through Apple CloudKit in your private iCloud. On another device with an empty archive, ExplainThisDoc automatically picks up your already active iCloud library. Your archive is ready when you move to a new device too.
Choose “Keep on this device” for your personal archive right on your iPhone or iPad. Adjust your choice any time in Settings → iCloud Sync, where you can also pause and resume sync. Choose the AI help that fits your documents: local analysis or Pro.
Wait for sync to finish, then open a document and a recent edit on the second device to verify availability.
5. Protect access to your paperwork
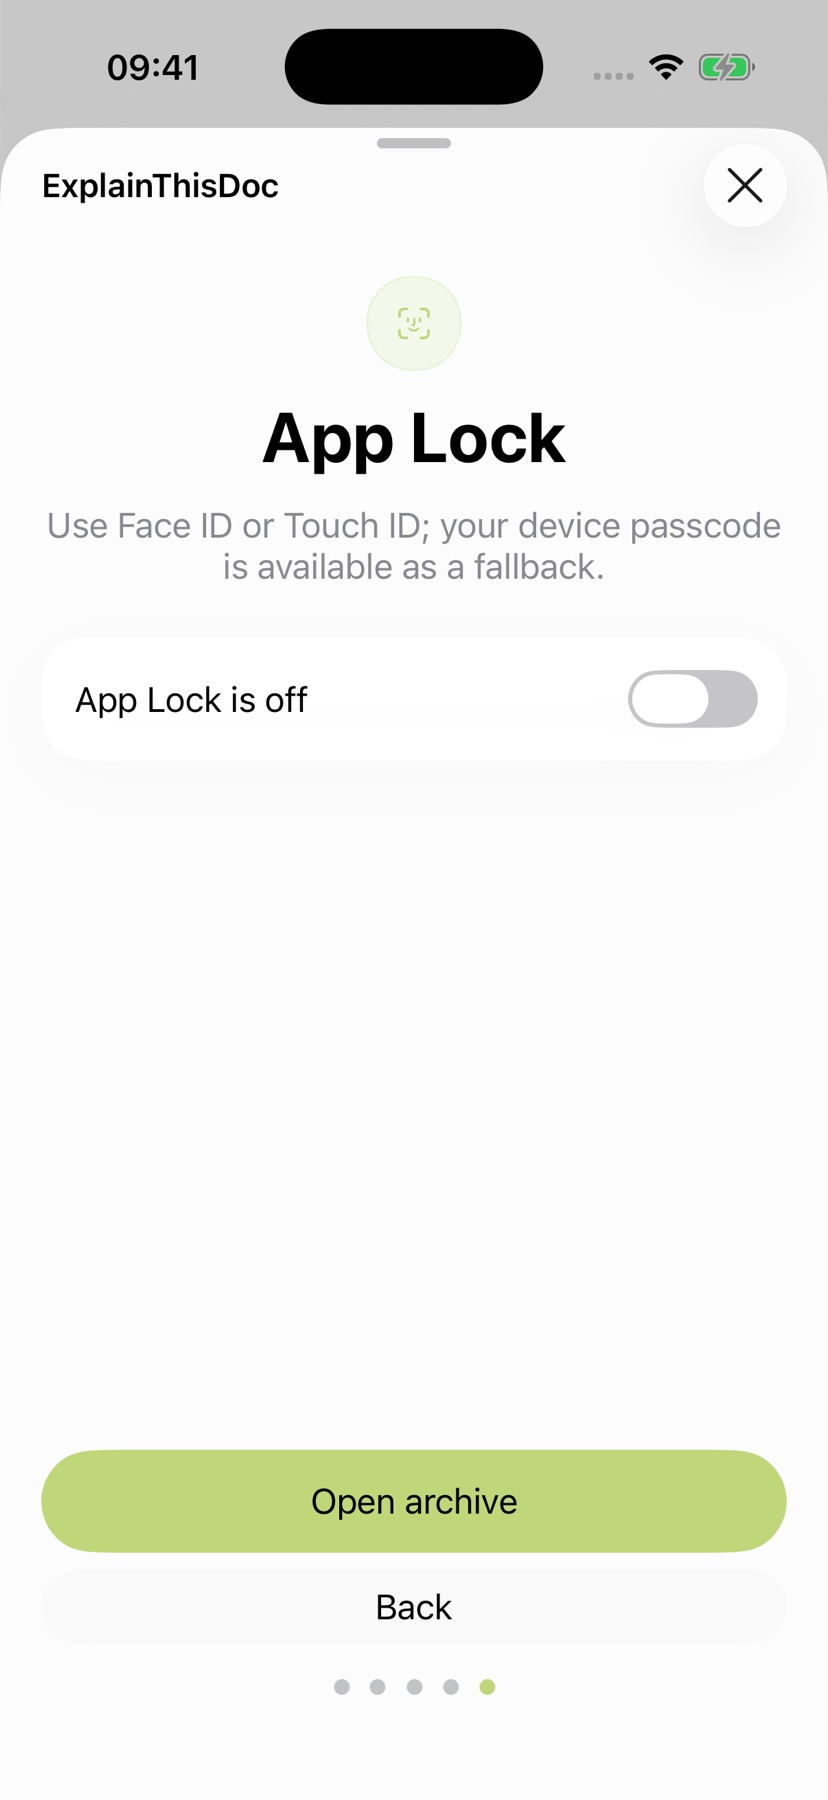
Enable App Lock to require Face ID, Touch ID or the device passcode when returning after leaving the app. It also hides content in the app switcher.
An already unlocked app remains readable while you use it. Lock the device before handing it over. Finish setup by opening your archive.
6. Bring paper, photos and files together
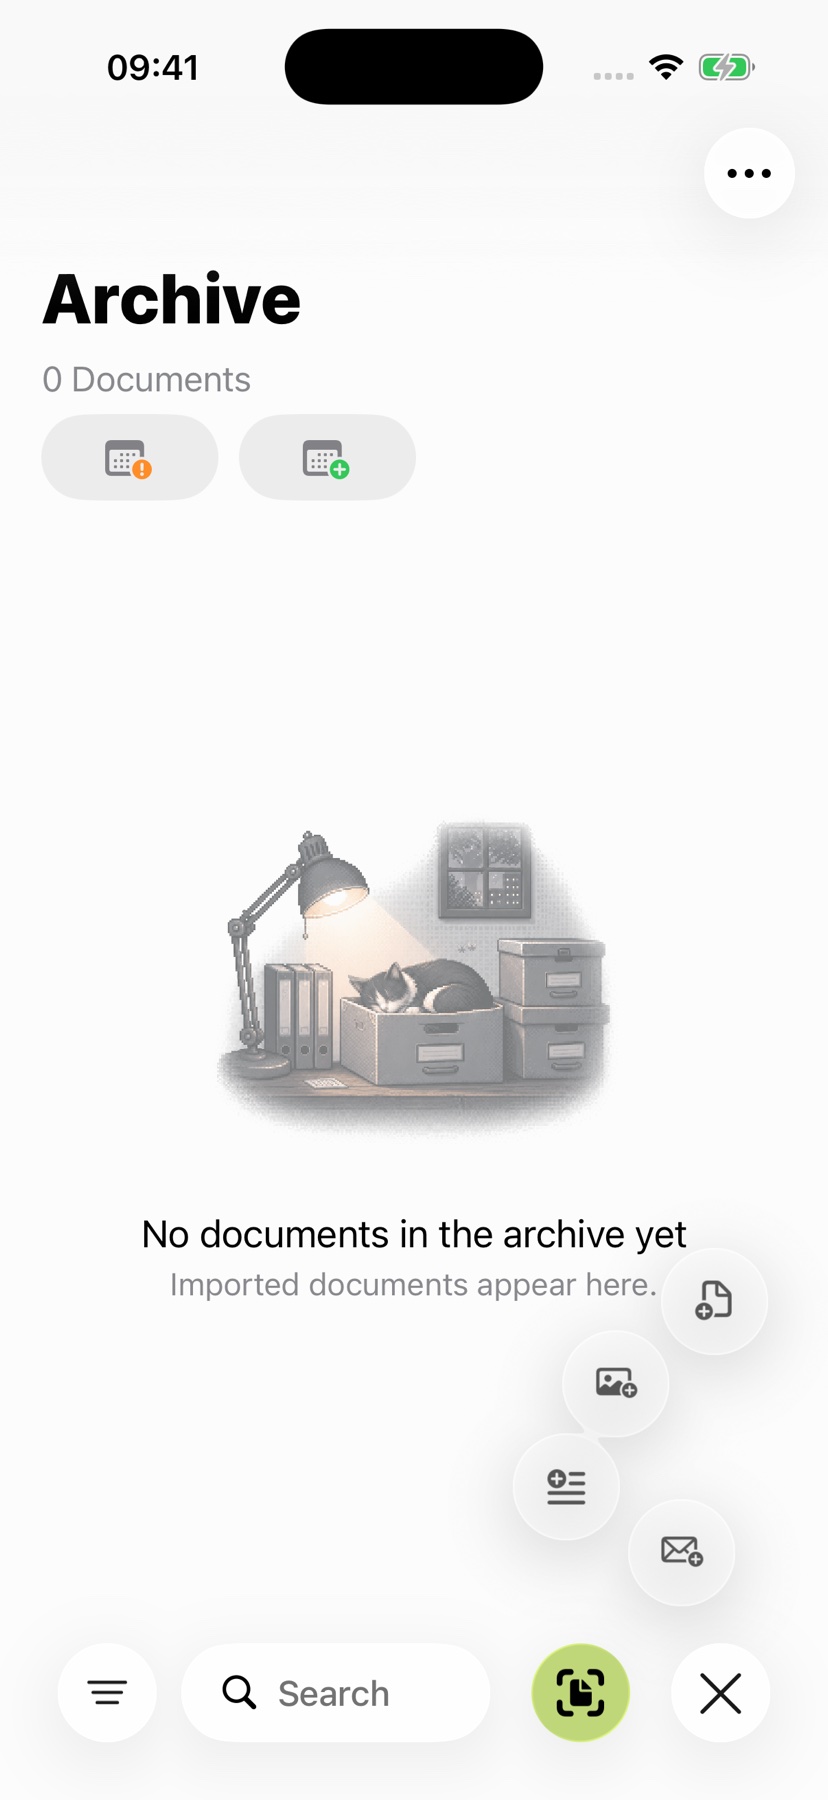
Scan new paperwork, open existing photos or import PDFs, Word files and other supported documents. ExplainThisDoc keeps them in your archive. You decide when you want an explanation.
Search by title, topic or a word from your notes. Filters narrow the list by document type and date range. Link related paperwork so you can move from a contract to its invoice or correspondence. The guide to digitizing and organizing documents shows how your archive grows with you.
7. Move from a document to a task done
Read the original and find text even in a scan using the reader. Highlight important passages, add comments and sign PDFs or scans directly on your iPhone. The scan-to-signature guide walks through the process.
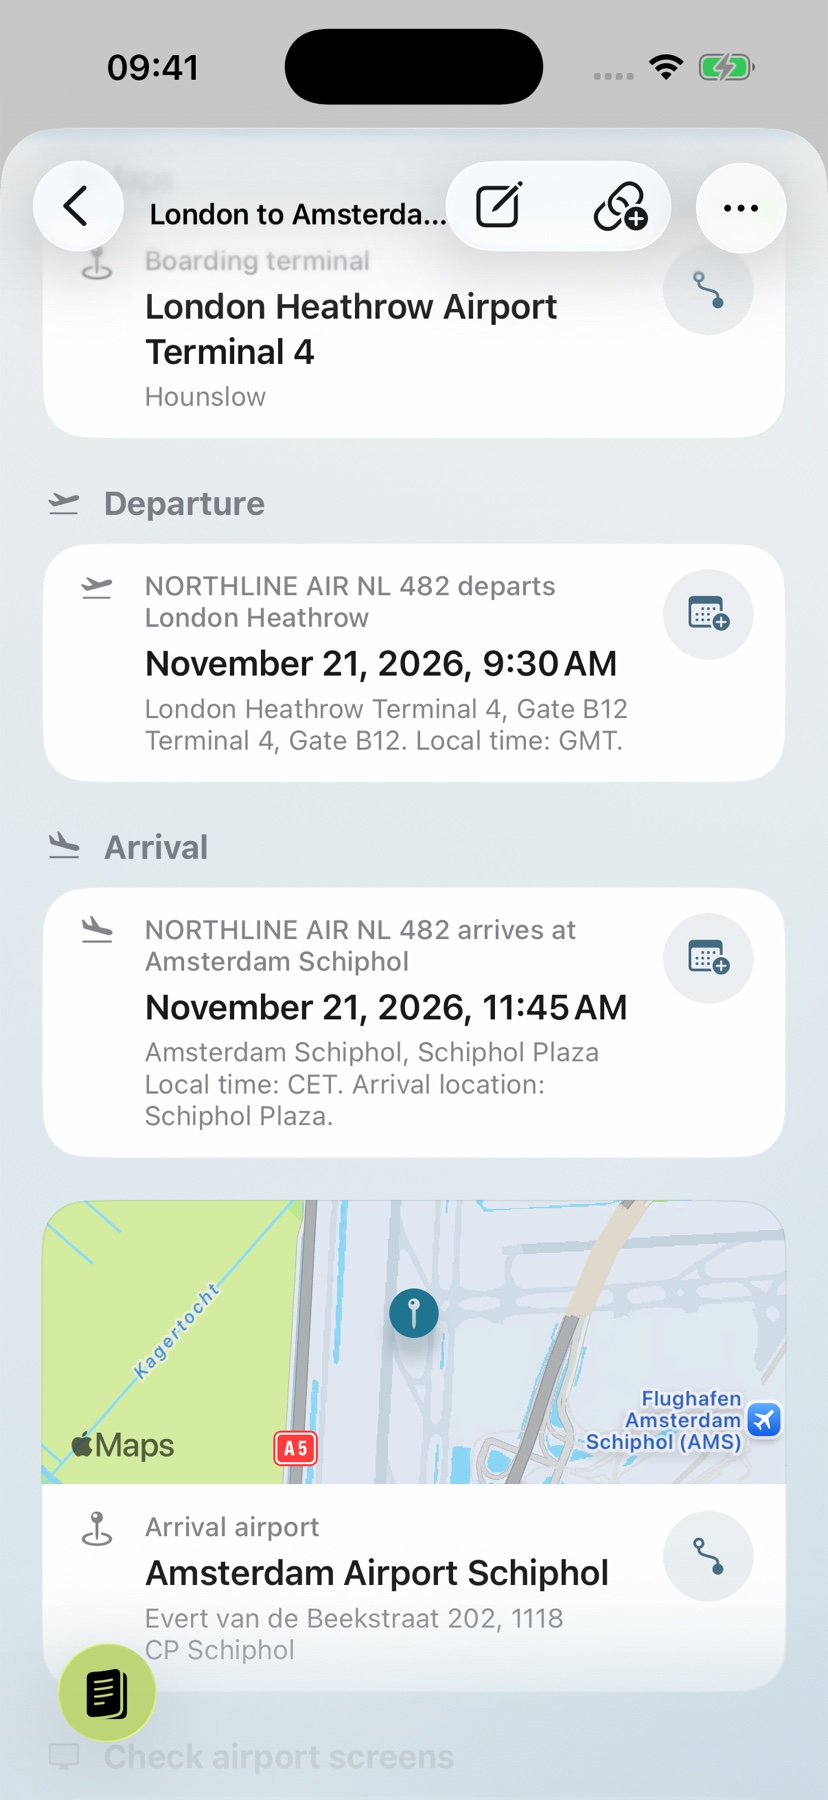
Local analysis gives you an overview. Pro explains context and makes suitable dates, addresses and tasks useful: save a prepared calendar event, start directions or check off a task. The original, explanation and your notes stay in the same archive.
8. Make the app fit your day
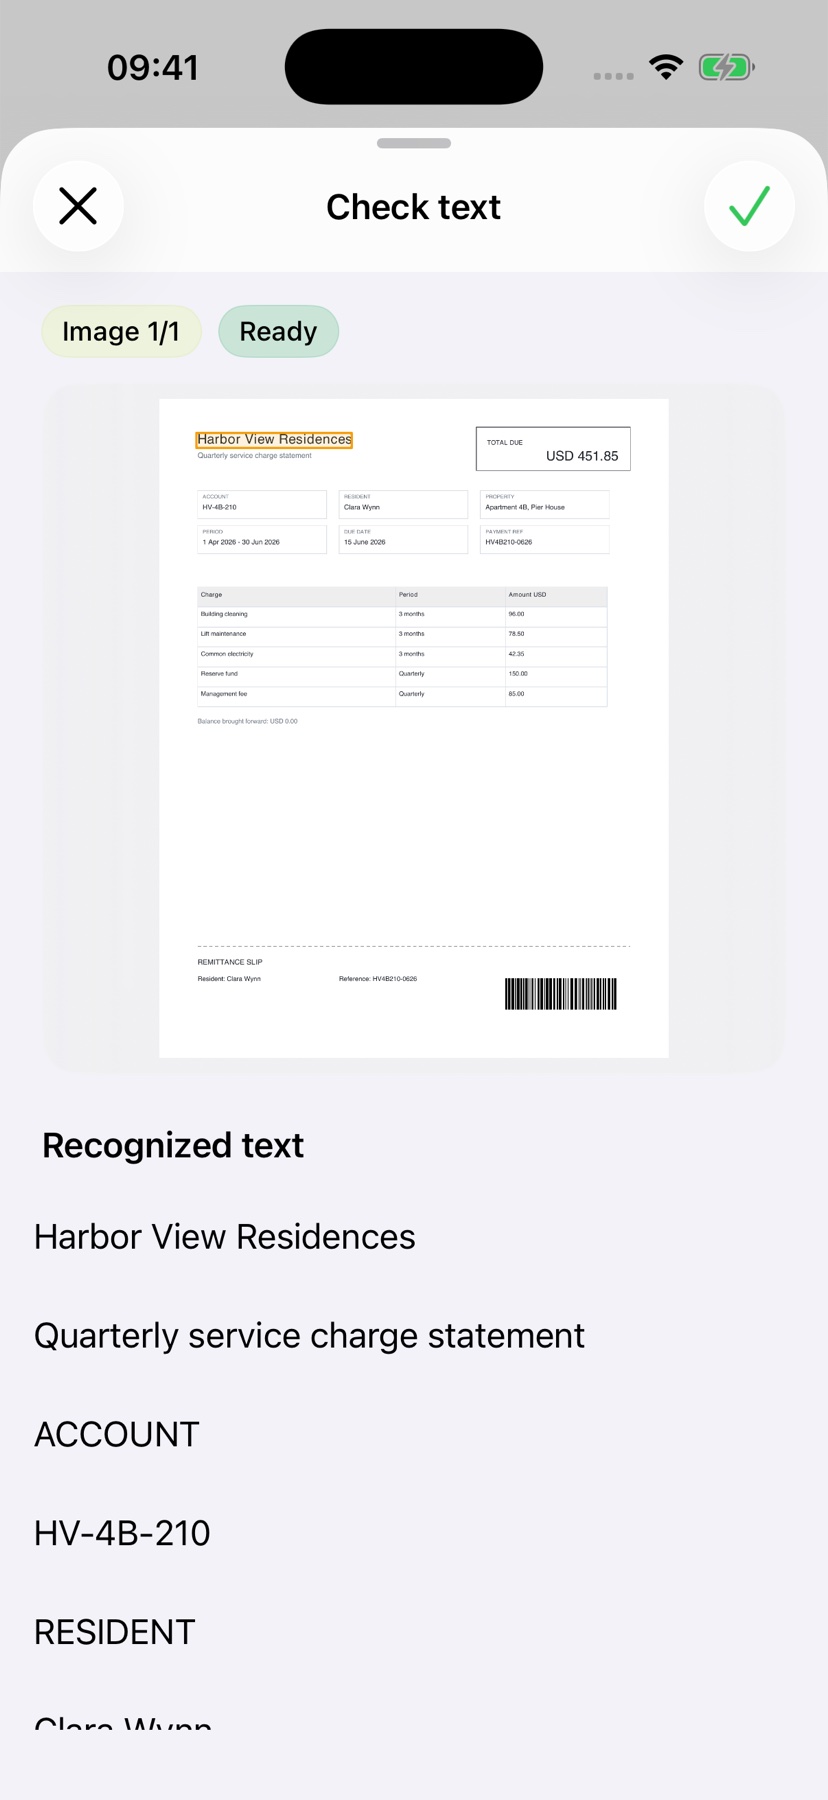
In Options, enable text review before an explanation. Photos and scans may show uncertain text alongside its image area. Check important names, amounts and dates even when no uncertainty is highlighted.
Choose language, appearance, analysis mode and App Lock in Options. Test the setup by opening a document, searching its text and using your chosen analysis.