Guides / A signature is all you need
Just add
your signature.
Your document is ready. Add your signature directly on your iPhone, adjust it and save the signed PDF. Here is the complete path, from importing without analysis to checking the result in Preview.
Local. No analysis. Free.
Adding and saving a signature happens on your device. You do not need analysis credits.
The app is shown in English; some iOS system screens are in German.
01 / Choose the import mode
Only a signature?
Choose Archive only.
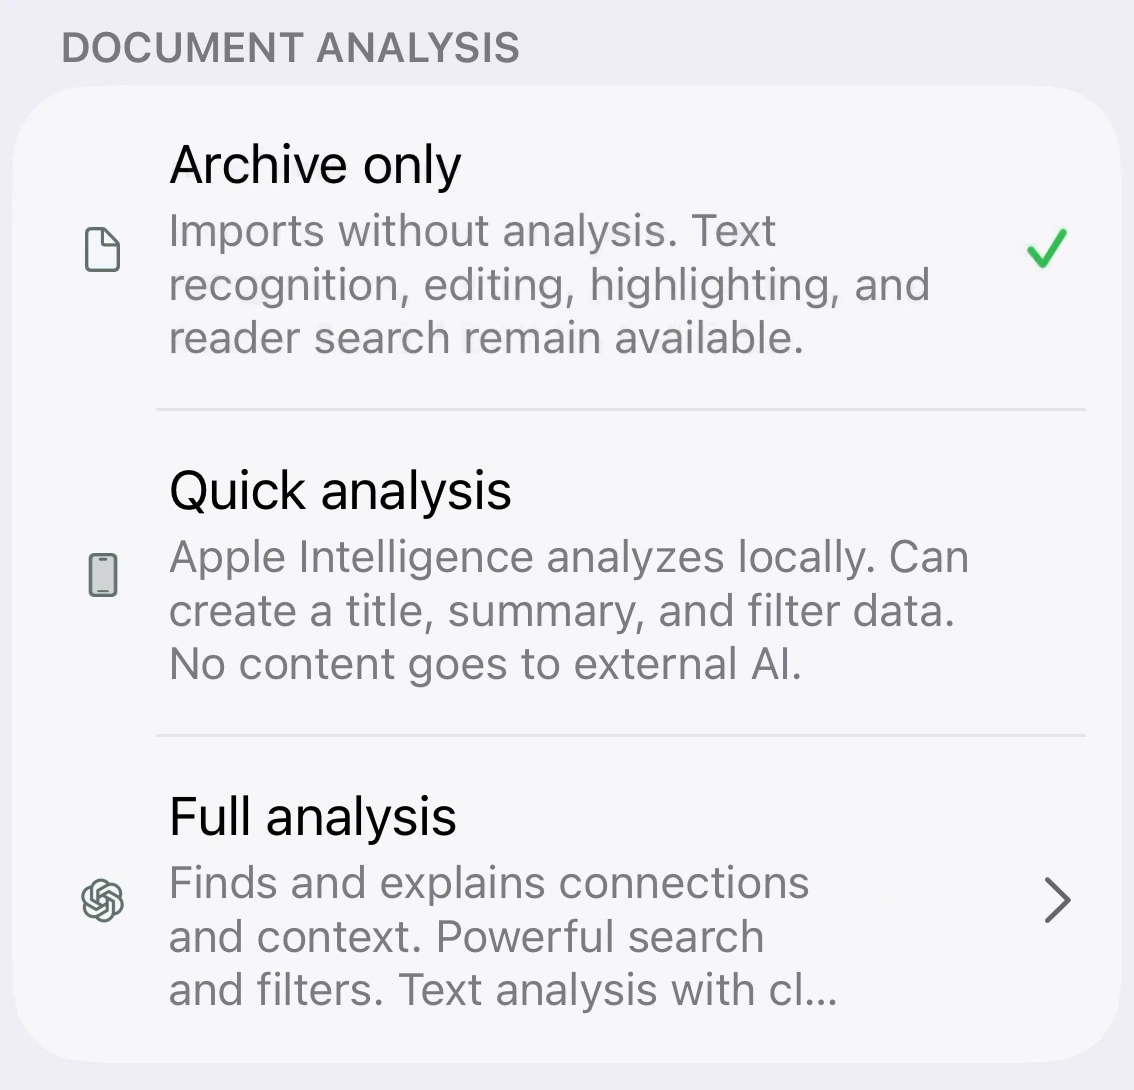
Open Settings. Under Document analysis, select Archive only before you open text or file import. Your next import will be stored without an AI analysis.
You can still open and sign the document. No explanation has to be generated, and no analysis credits are used.
02 / Add your document
Use your text.
Or an existing document.
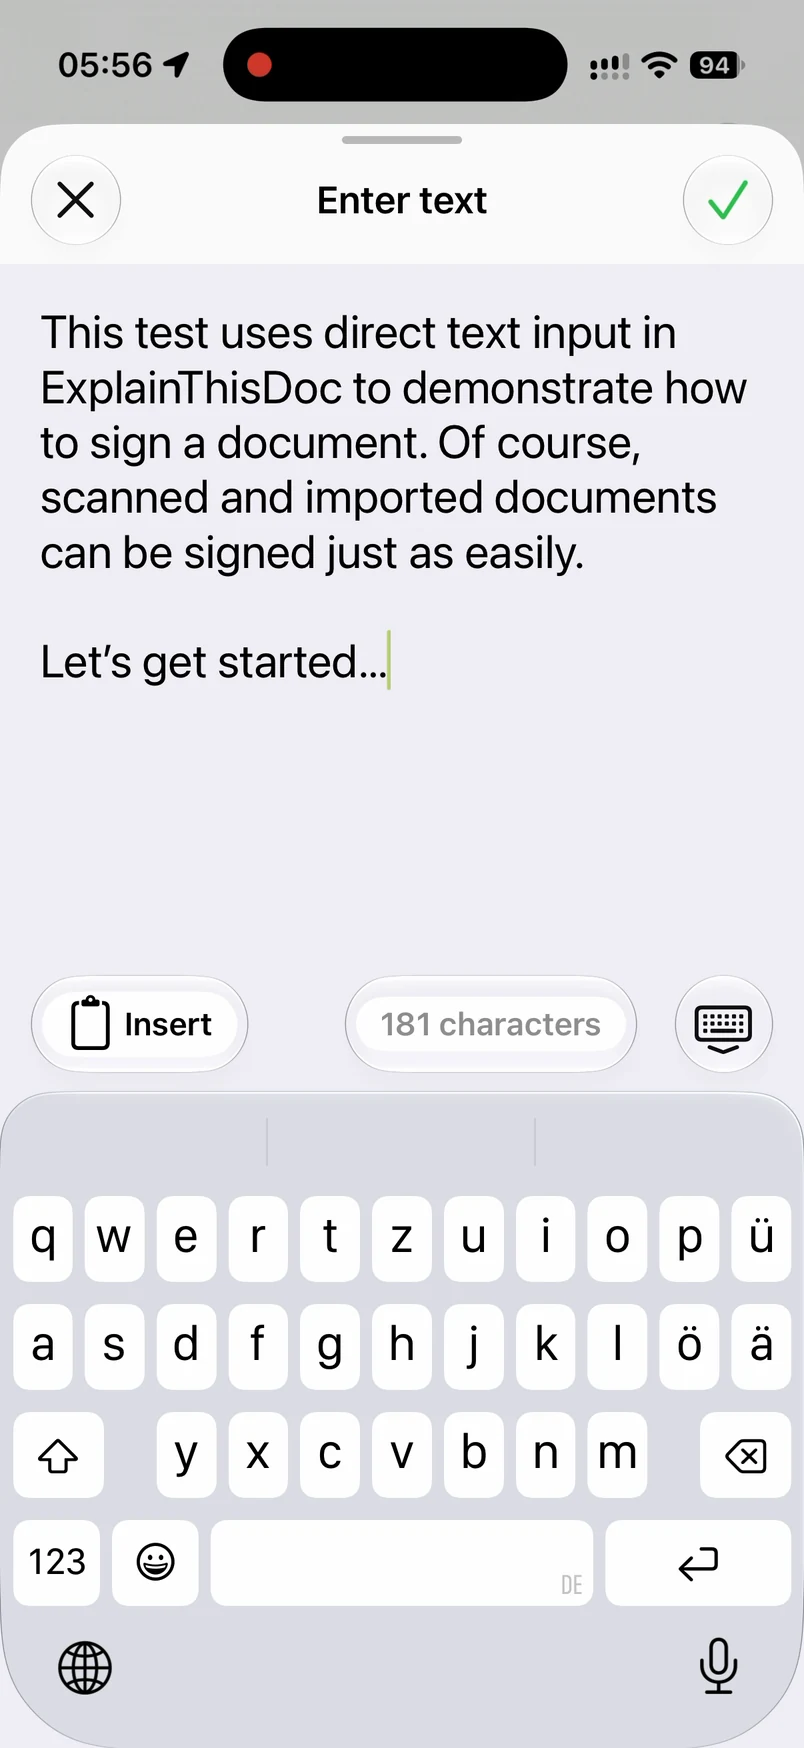
Tap the plus button and choose Enter text, as shown in the recording. Type or paste your text, then tap the checkmark to import it as a PDF. For an existing PDF or document, choose Import file instead.
Open the imported document in the archive. With Archive only selected, you can move straight to the signature without waiting for an analysis.
03 / Draw your signature
Sign with
your finger.
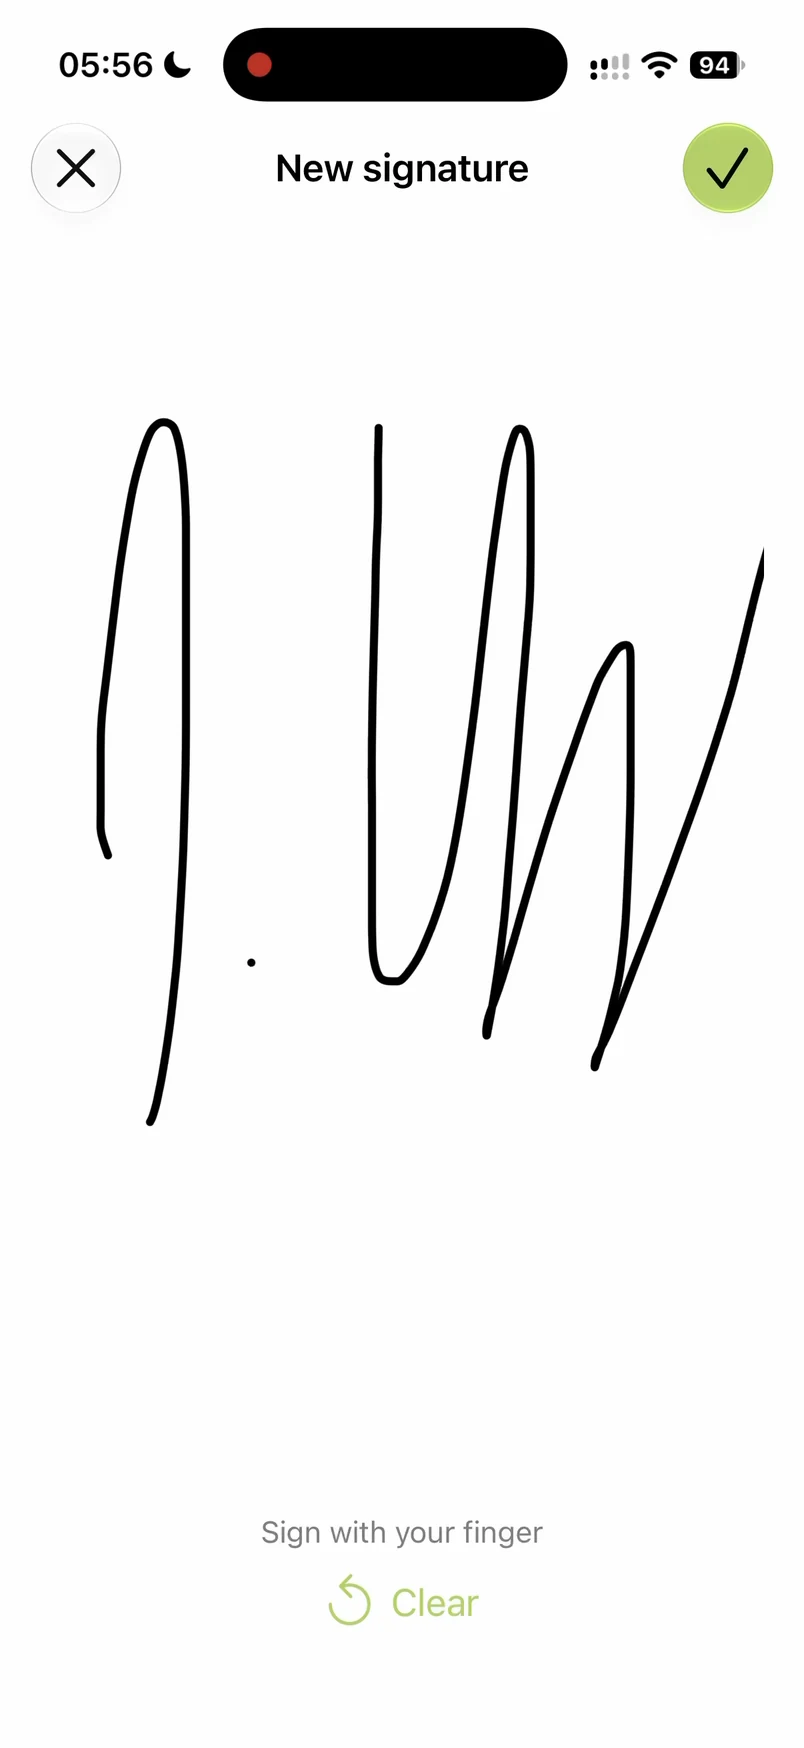
Open Tools in the document and choose Add signature. On New signature, draw with your finger and confirm with the checkmark.
The signature is placed on the page. It is still selected and can be adjusted before you save it.
04 / Make it fit
The right position.
Your colour and line.
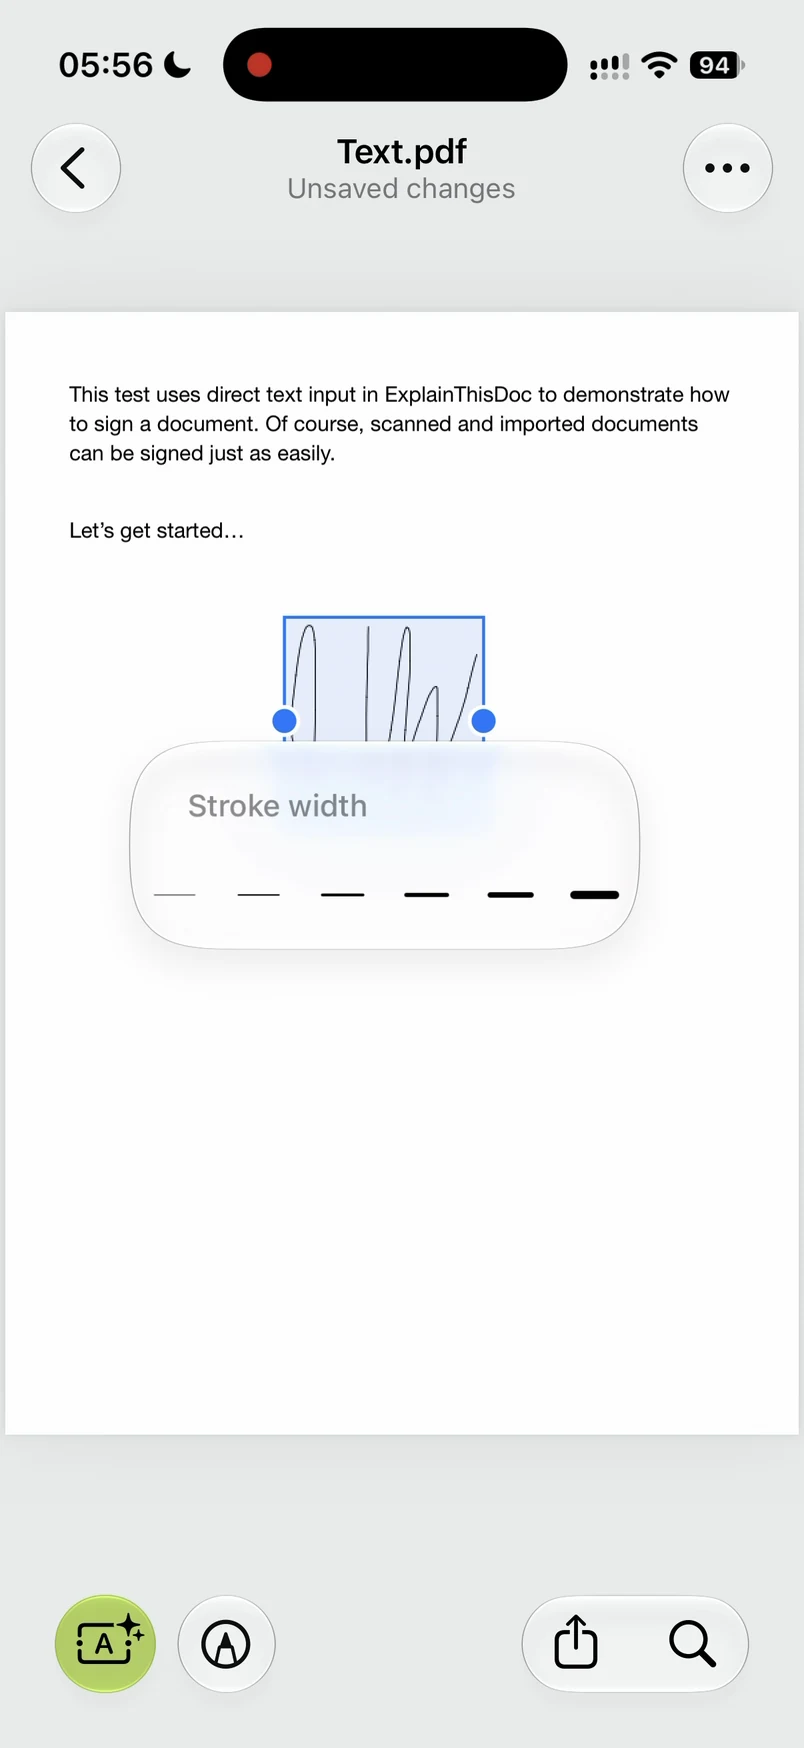
Drag the signature into place and pinch with two fingers to resize it. You can also change its colour and stroke width.
The selection frame and formatting controls are shown directly on the page. Check the placement and appearance while the signature is still editable.
05 / Save into the PDF
Looks right.
Now save it in place.
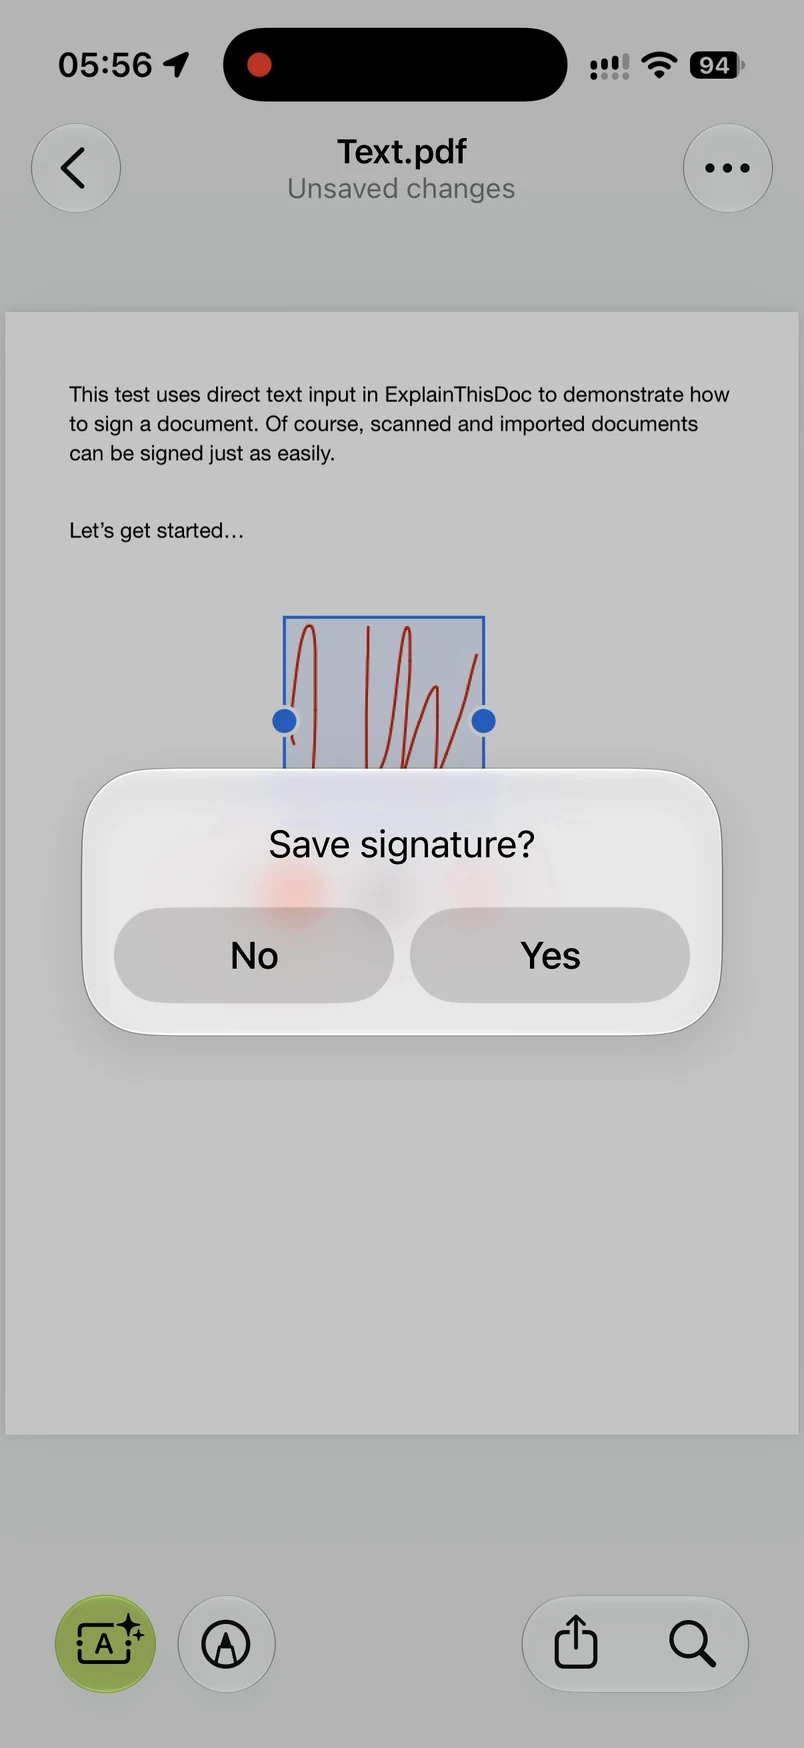
When you are happy with it, tap beside the signature and confirm Save signature? with Yes. Saving embeds the signature into the PDF page. Afterwards, you cannot move or edit it separately in the app.
Your original is retained. The signed version is stored as a PDF attachment with the document, ready to open or share.
06 / Check the exported file
Open it in Preview.
The signature is there.
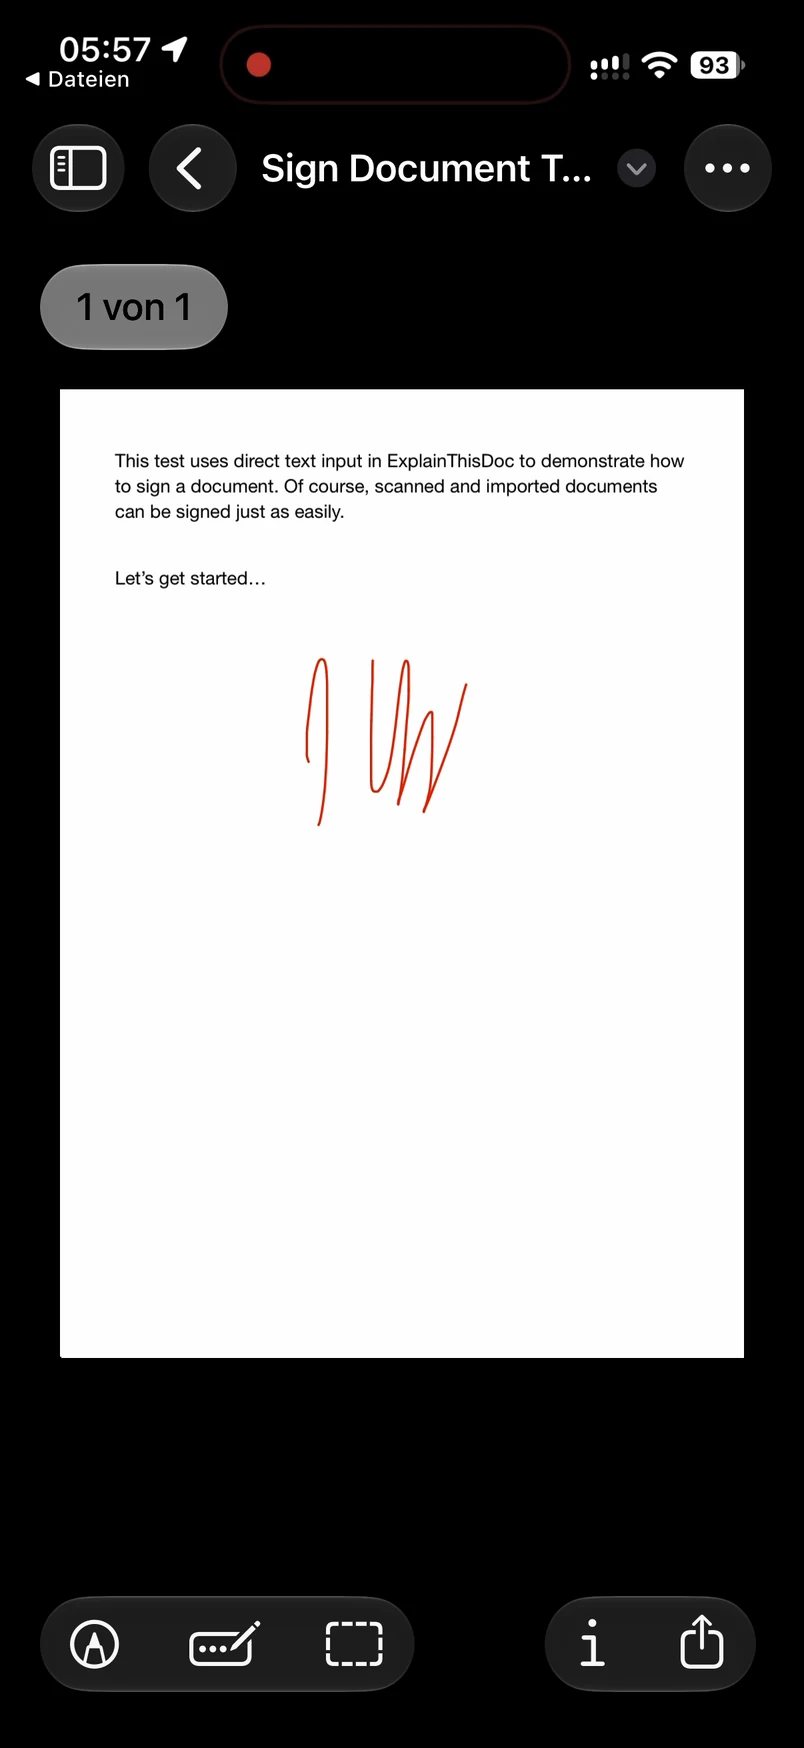
Share the saved PDF and choose Save to Files. Then open that exported file in the iOS Preview app.
The recording shows the signature in the exported PDF outside ExplainThisDoc. This checks the saved file itself, after the editing controls have gone.
A small task, done on your iPhone
Import. Sign.
Save. Done.
For a signature, choose Archive only and complete the workflow locally. No analysis, no printing and no credits needed.
ExplainThisDoc on the App StoreFor iPhone · free document signing