 ExplainThisDoc
Scan your signature or draw it on your iPhone: which one fits
A form has to go back signed, but there is no printer or scanner at hand. Many people then look for a way to scan their signature and insert it as an image. On an iPhone it is often simpler: you draw your signature with your finger straight into the PDF. This guide shows which way fits when and what an inserted signature means legally.
Three ways to get your signature into a document
- Draw it directly: you sign with your finger on the screen and the signature is added to the PDF. This is the shortest way if the recipient accepts a signed PDF.
- Sign on paper and scan: you print, sign with a pen and scan the complete document. This fits when a signature on paper is required.
- Scan your signature as an image: you photograph your signature on white paper, crop it and insert the image. That needs an image editor that removes the background, and a safe place for the image file.
ExplainThisDoc supports the first two ways. The app does not create a scanned signature image to reuse.
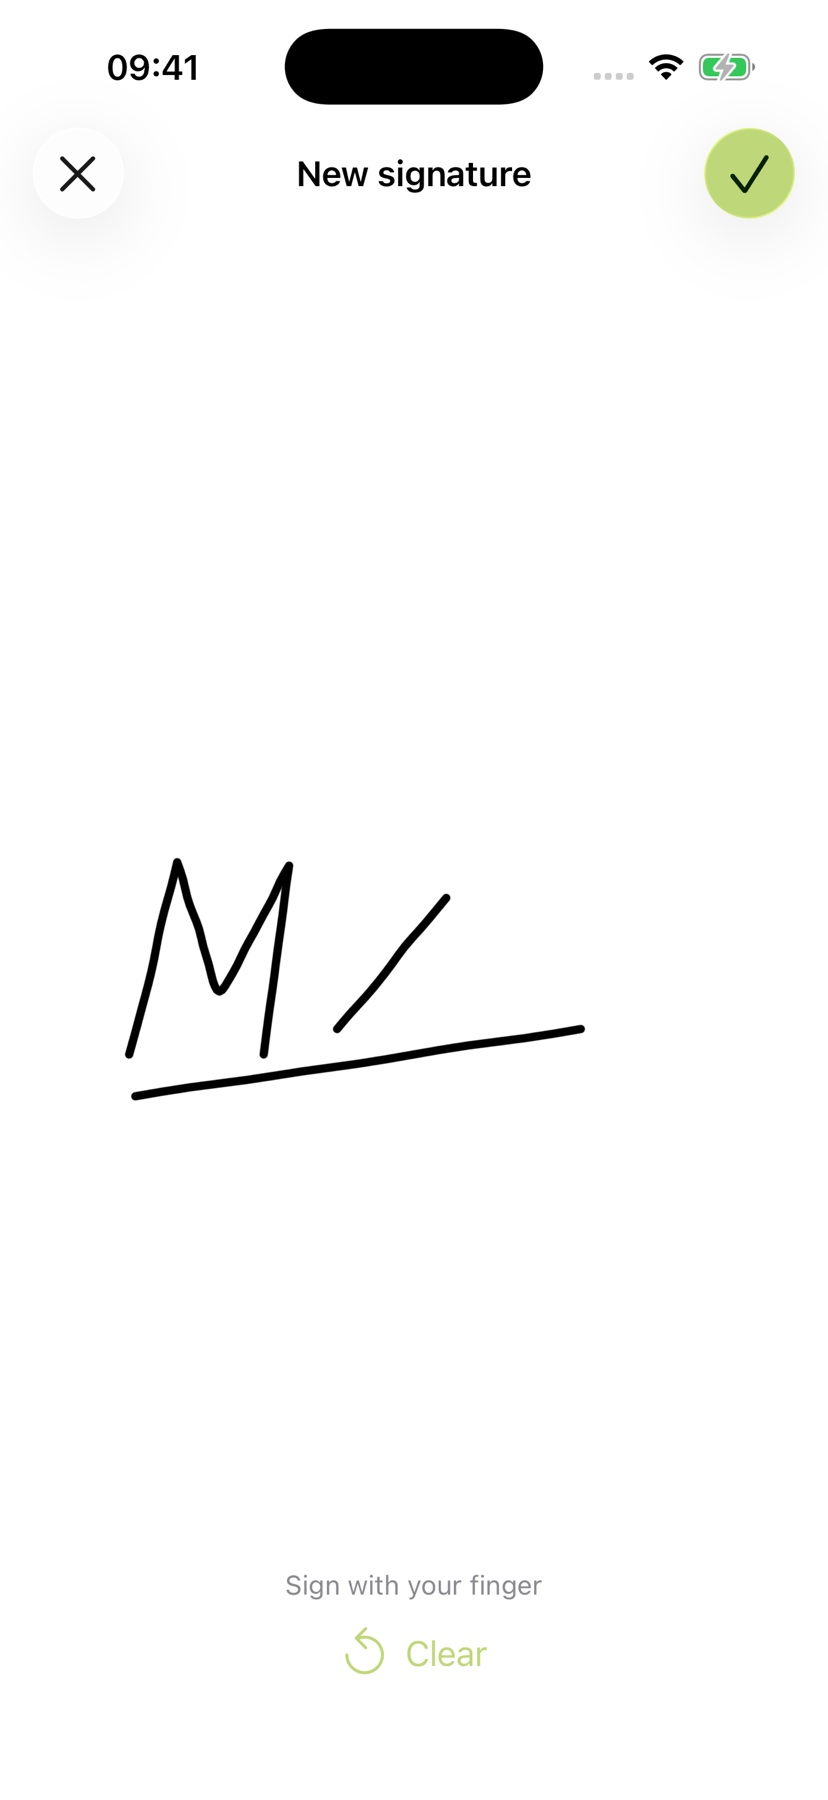
Draw your signature straight into the PDF
- Open the document from your archive in the Reader and go to the signature field.
- Tap “Tools” and choose “Add signature”.
- Draw your signature with your finger and confirm with the check mark.
- Drag the signature into the field and resize it with two fingers. While it is selected, you can change the ink color and stroke width.
- When you tap next to it, the app asks “Save signature?”. Choose “Yes” to fix it in the document.
The app does not keep a signature template. You draw your signature again for each document, and no separate image file is created. The how-to Scan and sign a document on your iPhone shows the whole flow from scan to sending.
When paper is required: sign and scan
Some recipients require a handwritten signature on the document itself. Then print it, sign with a pen and scan all pages: tap “Scan” in your ExplainThisDoc archive and capture the pages one after another. With “Share” in the Reader you send the scan as a PDF.
Lay the page flat and in good light so the signature is complete and sharp. Tips are in the how-to How to scan a document with your iPhone. If the original has to arrive by mail, a scan does not replace it.
A signature image: what to watch out for
A scanned signature saved as an image file is handy for templates on a computer. But it has a drawback: an image is easy to copy and paste into other documents. So don't keep the file in shared folders or old email attachments, and don't pass it on.
For a single PDF on your iPhone, a freshly drawn signature is usually simpler. There is no cropping or background removal, and no image file of your signature is left behind.
What an inserted signature means legally
A drawn or pasted signature is a simple electronic signature. Many recipients accept it for everyday paperwork, such as a form for your insurer or a confirmation for your landlord. In the EU, only a qualified electronic signature is legally equivalent to a handwritten one, and neither a scan nor a drawing creates it.
Some documents need a handwritten signature or a special procedure in many countries, for example wills, deeds or notarized papers. If in doubt, ask the recipient which form they accept. The European Commission explains the types of electronic signature.
If the recipient accepts a signed PDF, you can do it all in ExplainThisDoc: scan the letter, sign it in the Reader and send it with “Share”. The signed version stays in your archive, so you can check later what you signed. If something is unclear before you sign, have the document explained first; the explanation does not replace legal advice.
Sign your next PDF right on your iPhone
Snap or import
Scan a document or bring in a photo or PDF. No sign-up, no folders.
Understand it in plain words
Light analysis, free on your device¹. In depth with Pro: 1 credit per analysis.
Find it when you need it
The original, the explanation and your notes stay together in your archive.
- No sign-up
- No subscription
- Start right away

 Scan with your iPhone camera
¹ With Apple Intelligence enabled on a supported device and in a supported language.